E46 Crank Position Sensor
Where is the crankshaft position sensor on a BMW e46?
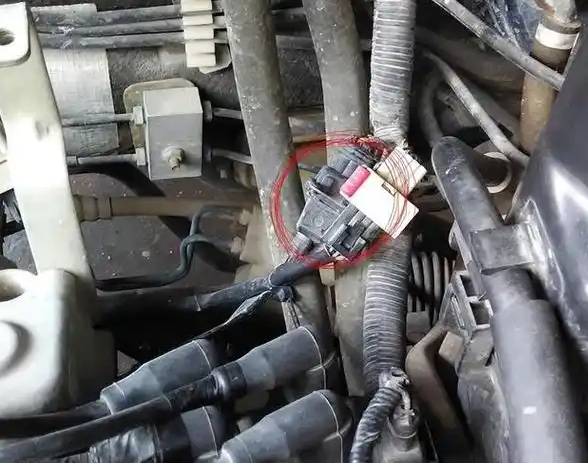
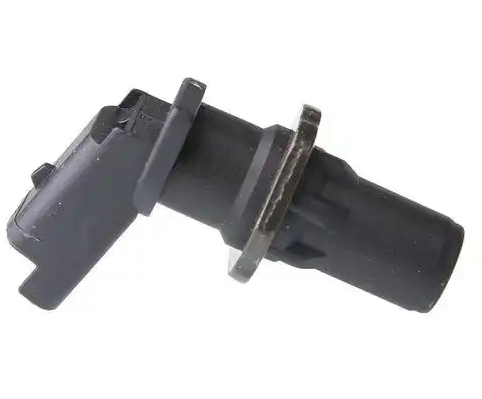
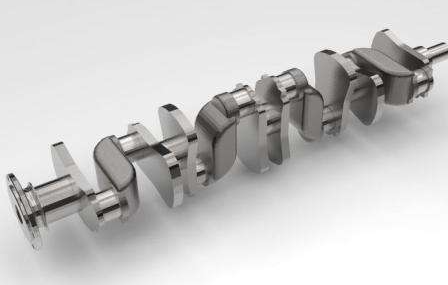
E46 crankshaft position sensor location: The crankshaft position sensor on a BMW E46 is located near the starter motor, mounted in the engine block. To access it, you can work from underneath the vehicle on the left side. The sensor reads a toothed reluctor wheel mounted to the end of the crankshaft and sends a signal to the engine control module (ECM) to identify cylinder location. E46 crank position sensor location
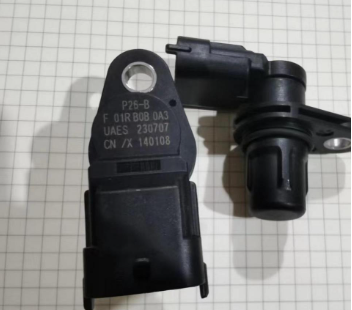
What is the symptoms of the camshaft position sensor on the e46?
A failing camshaft position sensor on a BMW E46 can cause several noticeable E46 crankshaft position sensor symptoms:
- Rough Idle: The engine may idle roughly, especially when it’s warm.
- Stalling: The car might suddenly die at idle or low speeds.
- Ticking Noise: You might hear a ticking noise, which can sound like a diesel engine, even though it’s a petrol engine.
- Check Engine Light: The engine check light might come on and blink.
- Loss of Power: There could be a noticeable loss of power, particularly in the lower RPM range.
- Misfires: You might experience misfires in one or more cylinders.
- Poor Acceleration: The car may have trouble accelerating smoothly, sometimes experiencing a delay or jerkiness.
What is the code for the crank position sensor on a BMW e46?
The common diagnostic trouble codes (DTC) for the crankshaft position sensor on a BMW E46 are P0335 and P0339.
- P0335: Crankshaft Position Sensor “A” Circuit Malfunction
- P0339: Crankshaft Position Sensor “A” Circuit Intermittent
These codes indicate issues with the crankshaft position sensor, which can lead to rough idling, stalling, and difficulty starting the engine.
BMW E46 crankshaft position sensor replacement
Replacing the crankshaft position sensor on a BMW E46 involves several steps. Here’s a general guide to help you through the process:
Tools and Materials Needed:
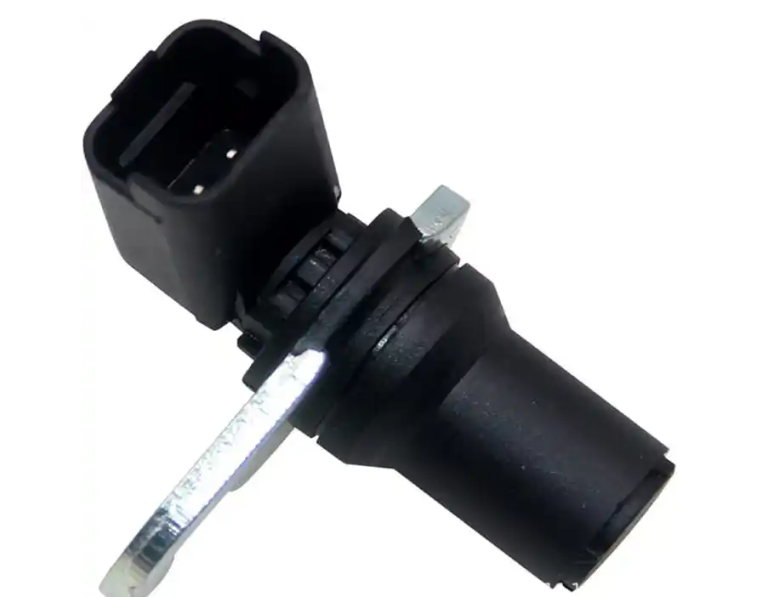
- New crankshaft position sensor
- Basic hand tools (wrenches, screwdrivers)
- Socket set
- Ratchet
- Torque wrench
- Safety gloves and goggles
Steps:
- Disconnect the Battery: Start by disconnecting the negative terminal of the battery to ensure safety.
- Raise the Vehicle: Use a jack to lift the front of the vehicle and secure it with jack stands.
- Locate the Sensor: The crankshaft position sensor is typically located near the starter motor, mounted in the engine block.
- Remove Components: Depending on the sensor’s location, you may need to remove components such as the air intake ducts or engine covers to gain better access.
- Unplug the Sensor: Carefully unplug the electrical connector from the crankshaft position sensor.
- Remove the Sensor: Use the appropriate socket or wrench to remove the bolts securing the sensor to the engine block. Carefully remove the sensor.
- Install the New Sensor: Position the new sensor in place and secure it with the bolts. Make sure it’s properly aligned.
- Reconnect the Electrical Connector: Plug the electrical connector back into the new sensor.
- Reassemble Components: Reinstall any components you removed earlier.
- Reconnect the Battery: Reconnect the negative terminal of the battery.
Tips:
- Check for Damage: Inspect the wiring and connectors for any signs of damage. Replace any damaged parts as needed.
- Torque Specifications: Use a torque wrench to tighten the bolts to the manufacturer’s specified torque to avoid overtightening or undertightening.

