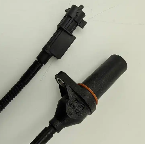
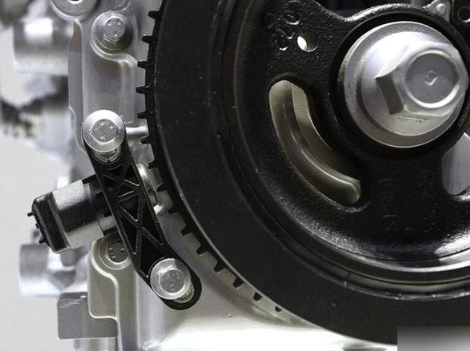
BMW Crankshaft Position Sensor
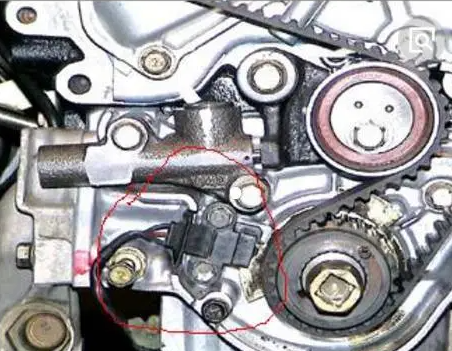
BMW Crankshaft Position Sensor Location
The Crankshaft Position Sensor is typically located near the front of the engine, below the alternator or starter motor. The exact location can vary depending on the specific model and engine type. For example, on BMW models with inline-6 engines (such as the N52 or N54), the sensor is often found near the starter motor, while on other models, it might be located near the crankshaft pulley.
BMW Troubleshoot Crankshaft Position Sensor ISTA
To troubleshoot a crankshaft position sensor issue on a BMW using ISTA (Integrated Service and Repair), follow these steps:
- Connect ISTA: Connect your BMW to ISTA via a laptop or the BMW ITool interface.
- Run Diagnostics: Use ISTA to run a full diagnostic scan. This will help identify any error codes related to the crankshaft position sensor.
- Check Error Codes: Look for specific error codes such as P0335 (Crankshaft Position Sensor A Circuit Malfunction) or P0340 (Camshaft Position Sensor A Circuit Malfunction).
- Inspect the Sensor: Visually inspect the crankshaft position sensor for any signs of damage or wear.
- Test the Sensor: Use ISTA to perform a live data test and monitor the crankshaft position sensor’s signal. Ensure the sensor is providing a consistent and accurate signal.
- Replace if Necessary: If the sensor is faulty, follow ISTA‘s instructions for replacing it. This will include removing the old sensor, installing the new one, and clearing any error codes.
BMW Crankshaft Position Sensor Replacement
Replacing the BMW crankshaft position sensor involves several steps. Here’s a general guide:
Tools and Materials Needed:
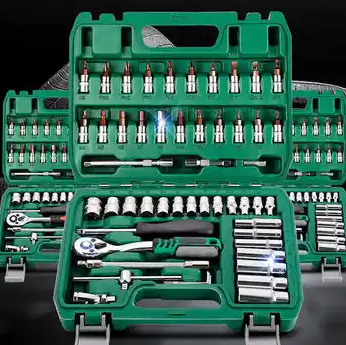
- Socket set
- Ratchet
- Screwdriver
- Replacement crankshaft position sensor
- OBD-II scanner (optional)
Steps:
- Disconnect the Battery: Ensure safety by disconnecting the negative terminal of the battery.
- Locate the Sensor: The crankshaft position sensor is usually located near the front of the engine, below the alternator or starter motor.
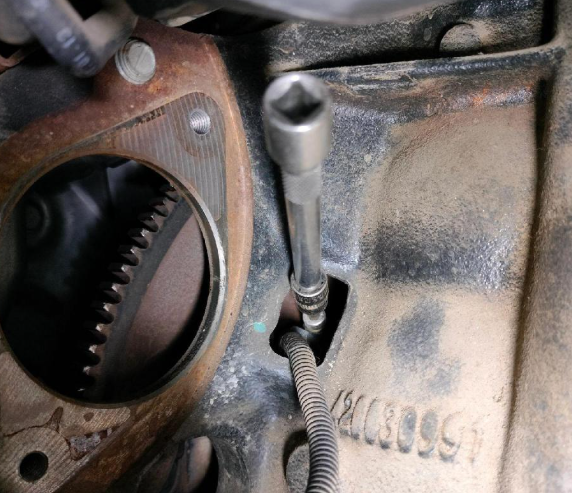
- Remove the Sensor:
- Unplug the electrical connector from the sensor.
- Use the socket set to remove the mounting bolt(s) holding the sensor in place.
- Carefully remove the sensor from its position.
- Install the New Sensor:
- Position the new sensor in place and secure it with the mounting bolt(s).
- Reconnect the electrical connector.
- Reconnect the Battery: Reattach the negative terminal of the battery.
- Clear Error Codes: Use the OBD-II scanner to clear any stored error codes and start the engine to ensure the issue is resolved.
Always refer to your vehicle’s service manual for specific instructions and torque specifications. If you’re not comfortable performing this task yourself, it’s best to consult a professional mechanic.

